In this tutorial, we will learn how to create users in Yaku:
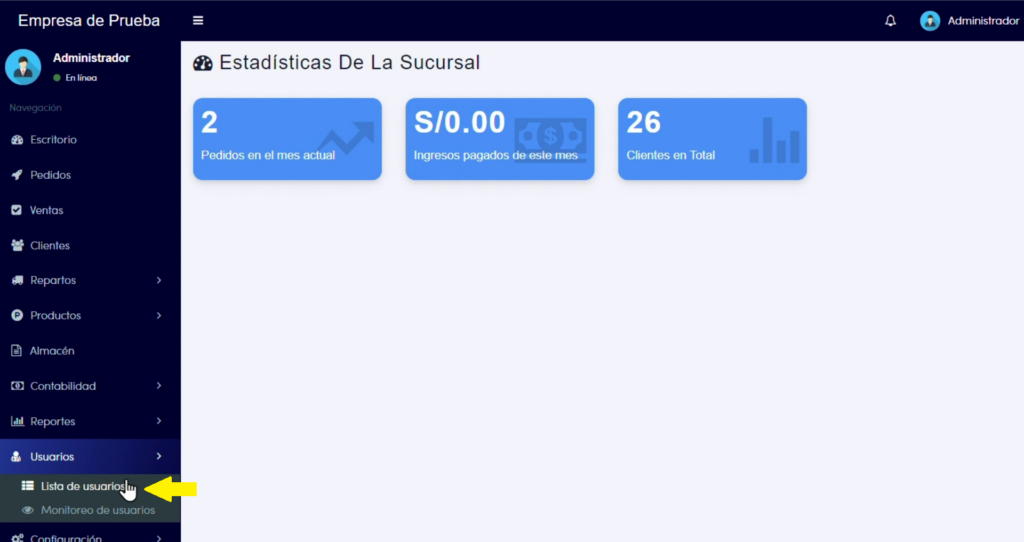
- Access the “Users” module in the system’s side menu. Here you will find two options: “User Monitoring” and “User List”. Select “User List”:
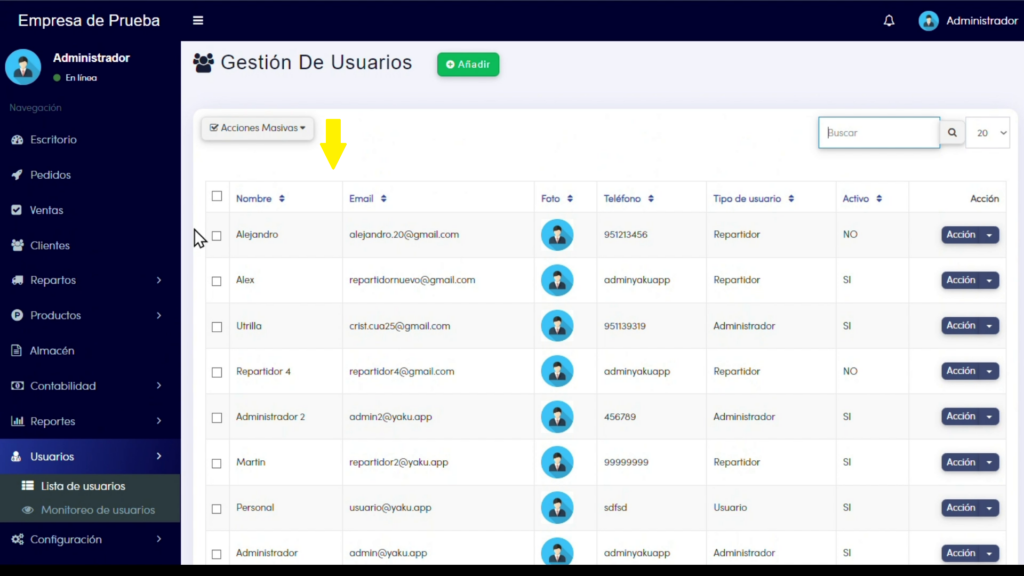
3. In the User List, you will see all the users you have previously created:
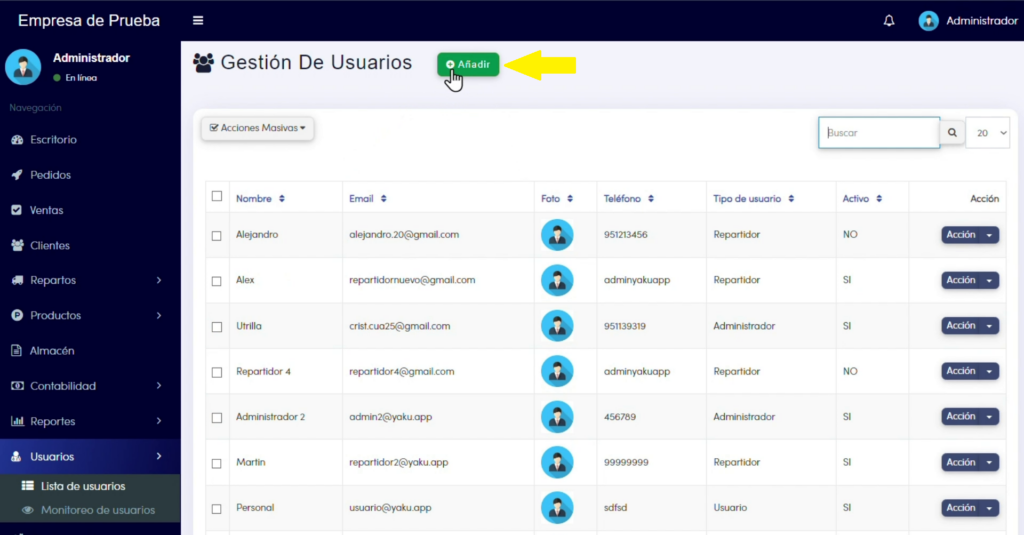
4. To create a new User, click on the “Add” button:
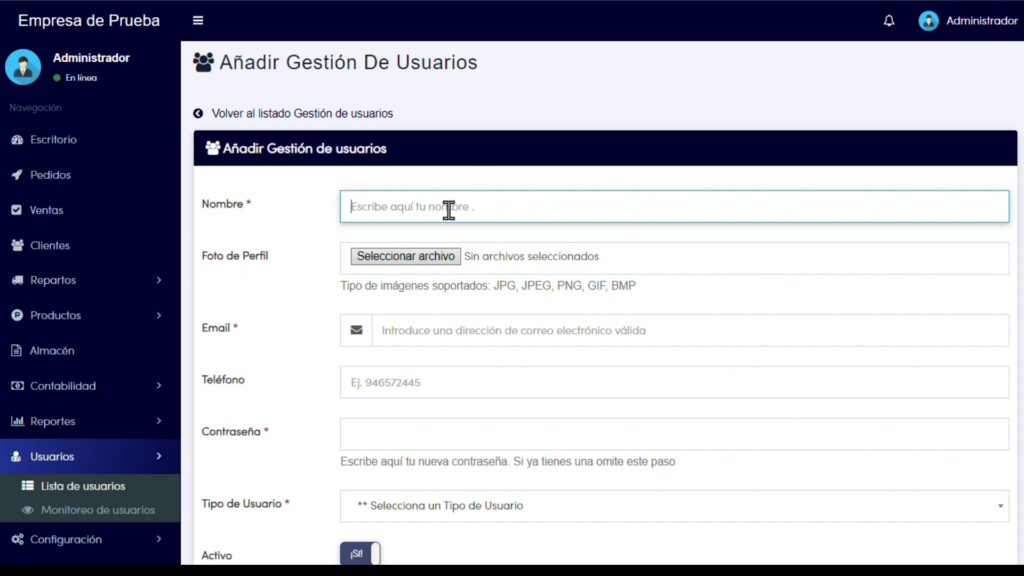
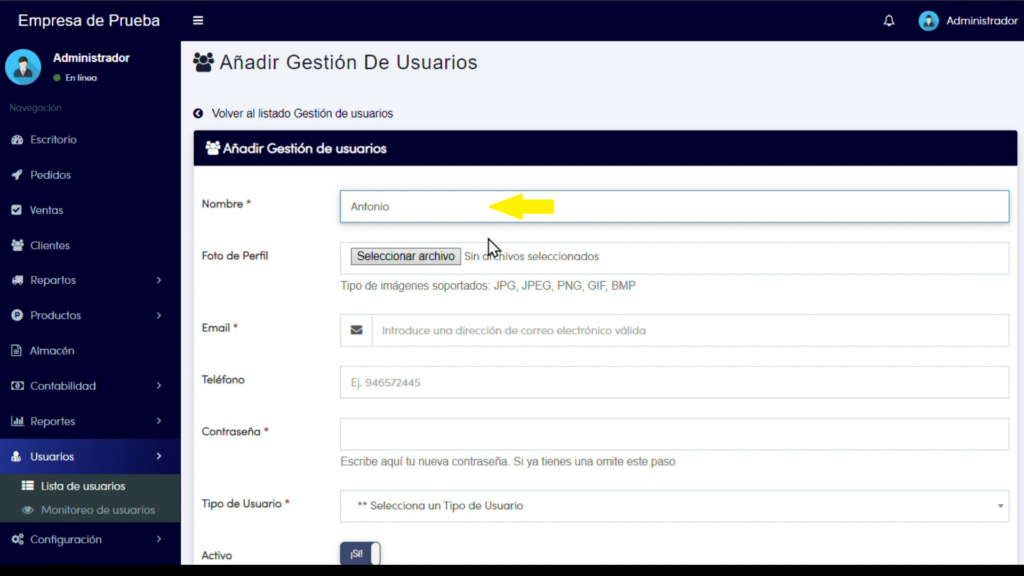
5. The following form will be displayed:
Completing the form
1. In this form, enter the name of the new User
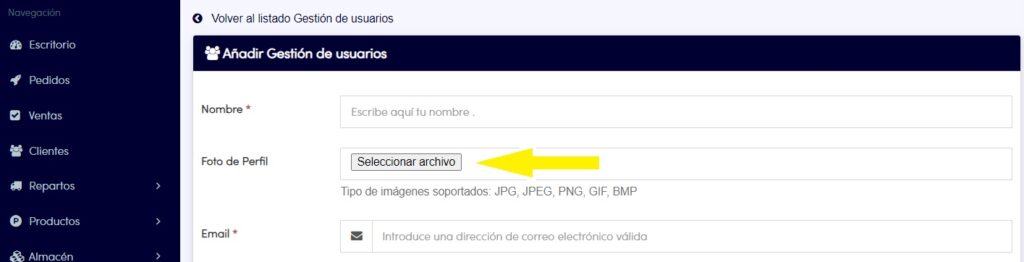
2. Optionally you can add a profile picture for the user. To do this, press the “Select file” button and choose the image from your computer.
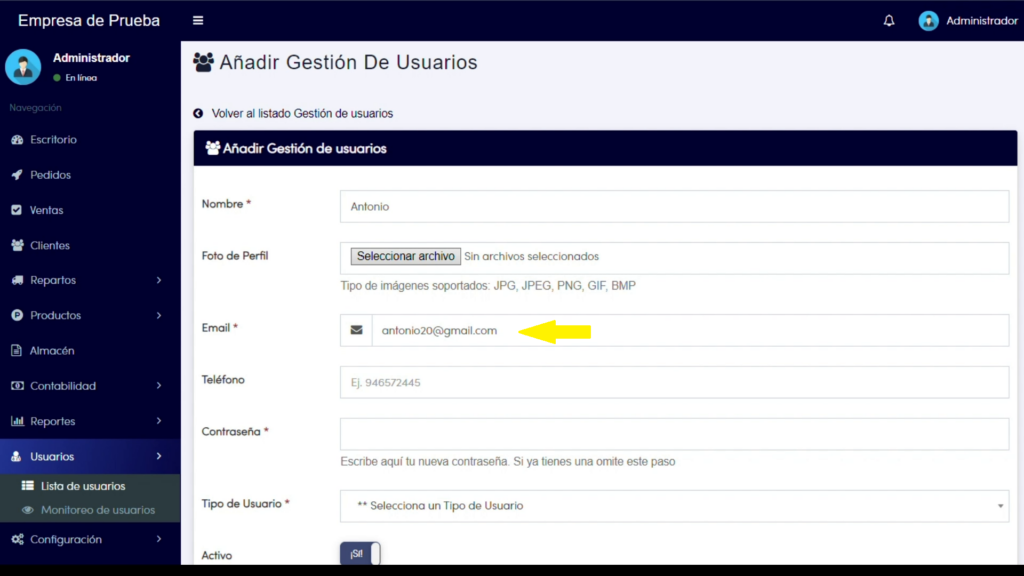
3. Then, enter the User’s email address. This email will be their access key to the system and will be the email to which system notifications will be sent.
4. Optionally, you can add a phone number that belongs to the User:
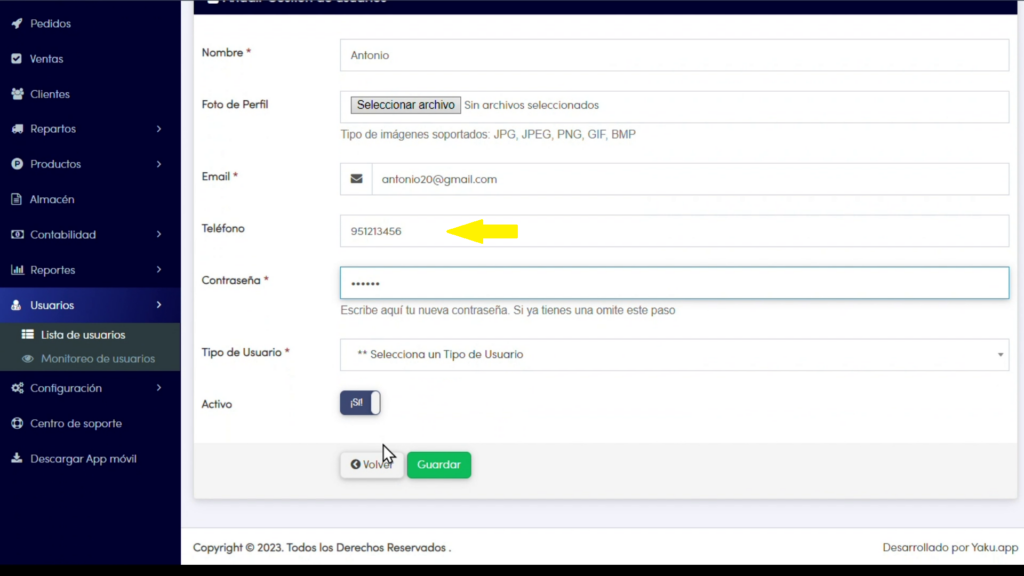
5. Next, create a password for the user. It can be any password you want, but make sure it is secure:

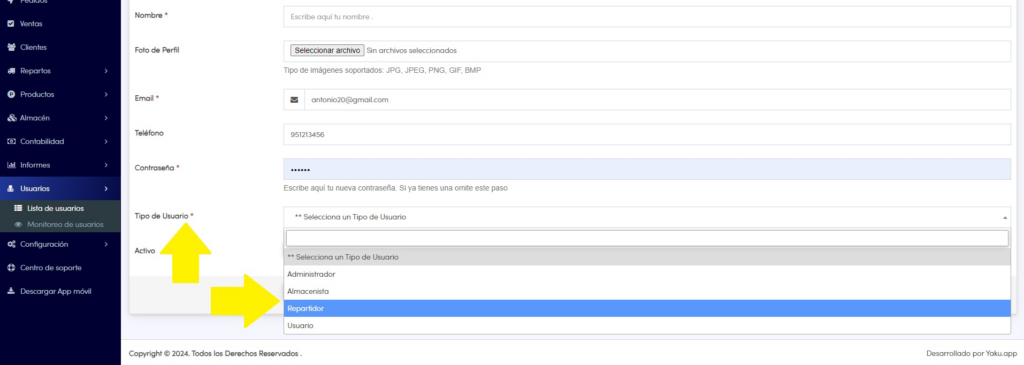
6. Select the type of User you want to assign on your platform. There are different types of users such as Administrator, Delivery Person, and Warehouse Keeper. For this example, we will select “Delivery Person”:
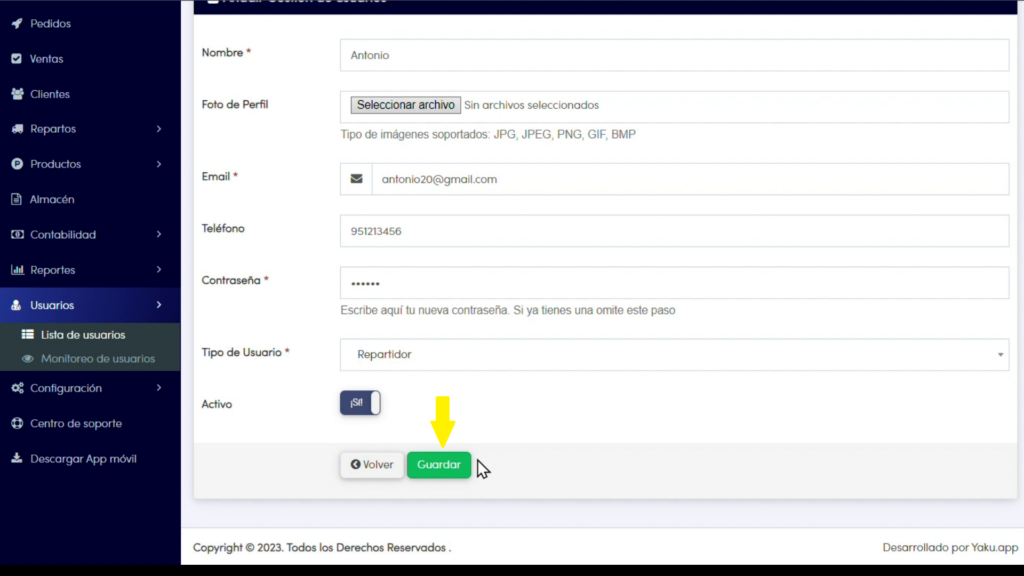
7. If you want the User to be active, make sure to leave the corresponding option checked. If at any time the User needs to be inactive, this option can be unchecked in the User editing section:

8. Finally, click on “Save” and you’re done. You have successfully created the new User “Antonio” who is of the type “Delivery Person” on your platform:
NOTE
In case there is an issue in creating a new User, a warning message will appear on the screen, describing the problem that prevents saving that new user, while the field that has been filled out incorrectly will be highlighted in red.
