In this tutorial, we will learn how to add stock to the warehouse in Yaku.app.
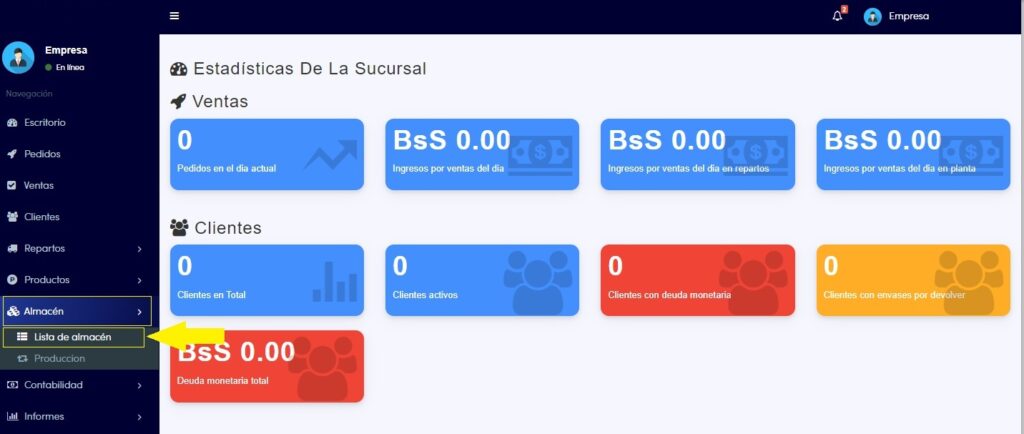
- To access the warehouse module, you must click on “Warehouse”, where the module options will be displayed. Press “Warehouse List” to go to the module dashboard.
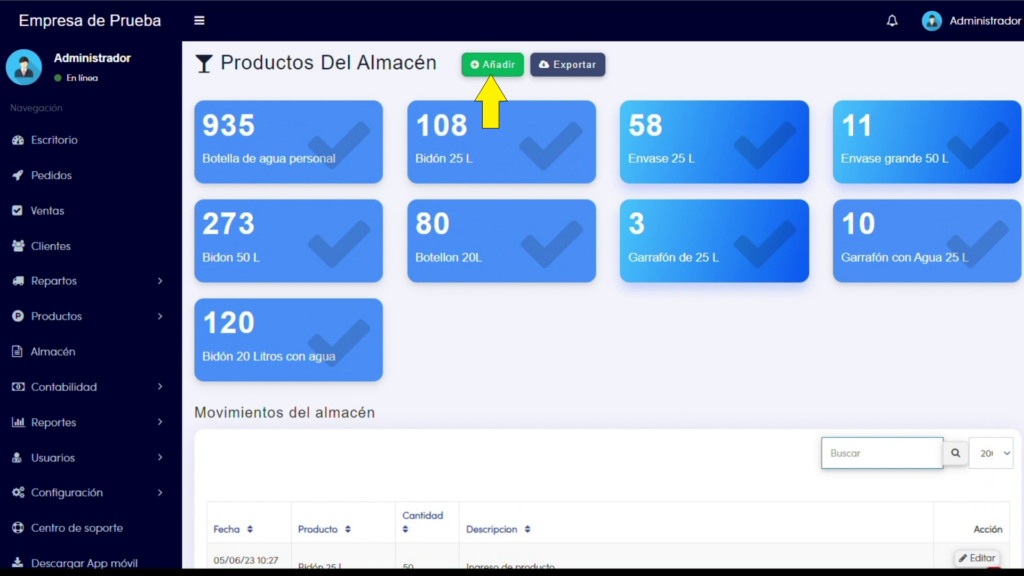
2. Once you are directed to the “Warehouse Products” screen, click on the “Add” button. This will take you to the form to add new stock to the warehouse.
3. In the “Product” section, you will have the entire list of products and containers for your company available. Select the one to which you want to add stock.
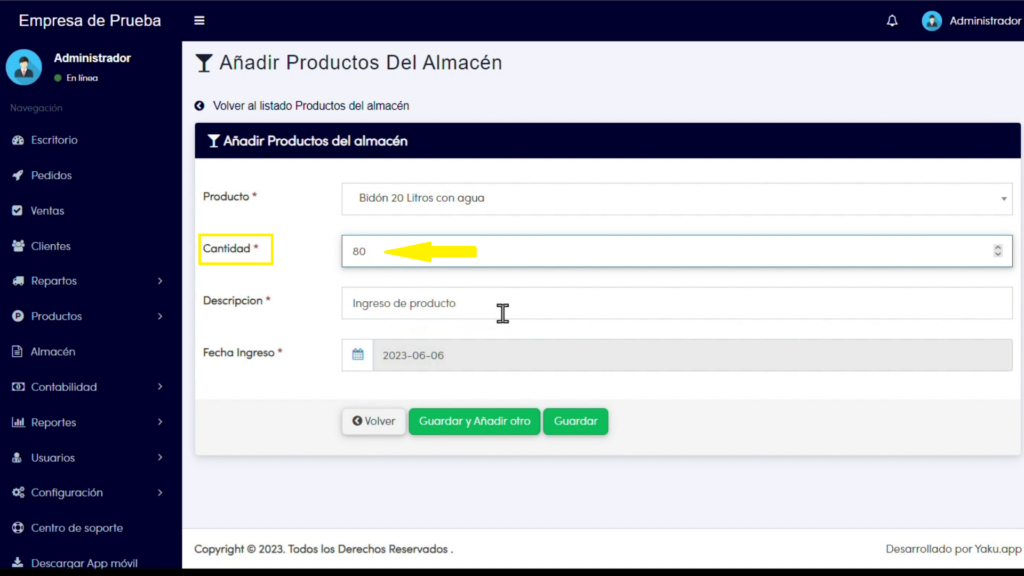
For example, select the product “20-liter bottle with water”.
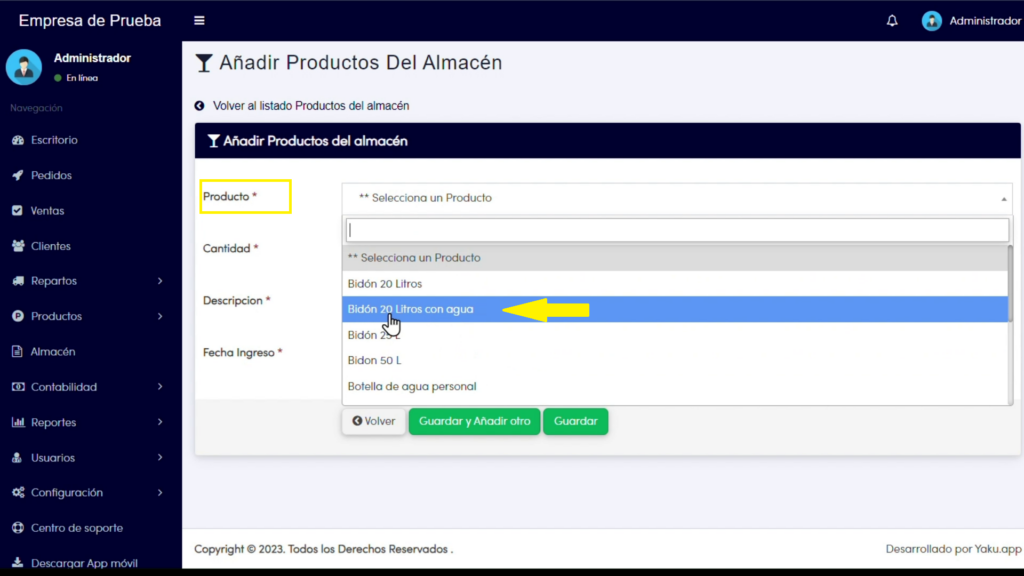
4. In the quantity field, enter the amount of stock you want to add. For example, if you want to add 80 containers of 20 liters capacity filled with 20 liters of water, enter “80” in this field.
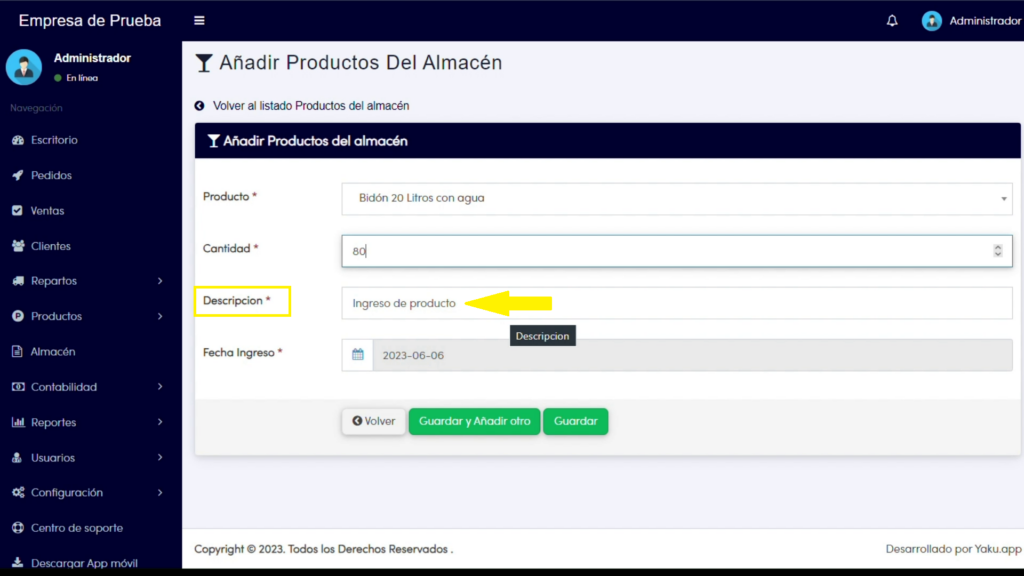
5. If you wish, you can add a description of the product in the corresponding field. This is optional and you can leave it blank if it’s not necessary.
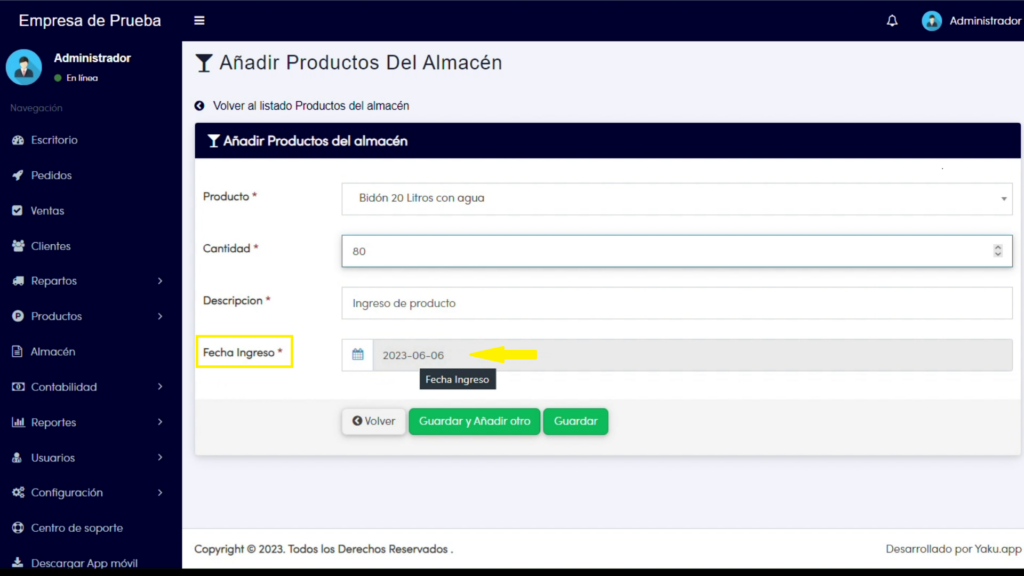
6. The entry date field is automatically filled with the current date, as we are entering new stock at that moment. However, a different date can also be entered if required.
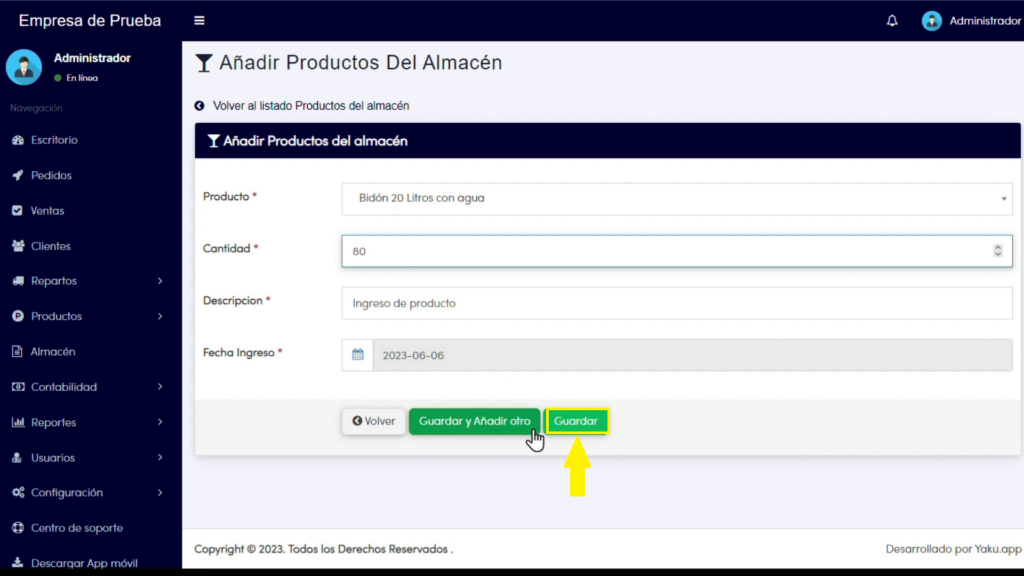
7. Once you have verified that all the information is correct, click on the “Save” button. The stock will be successfully added to the warehouse.
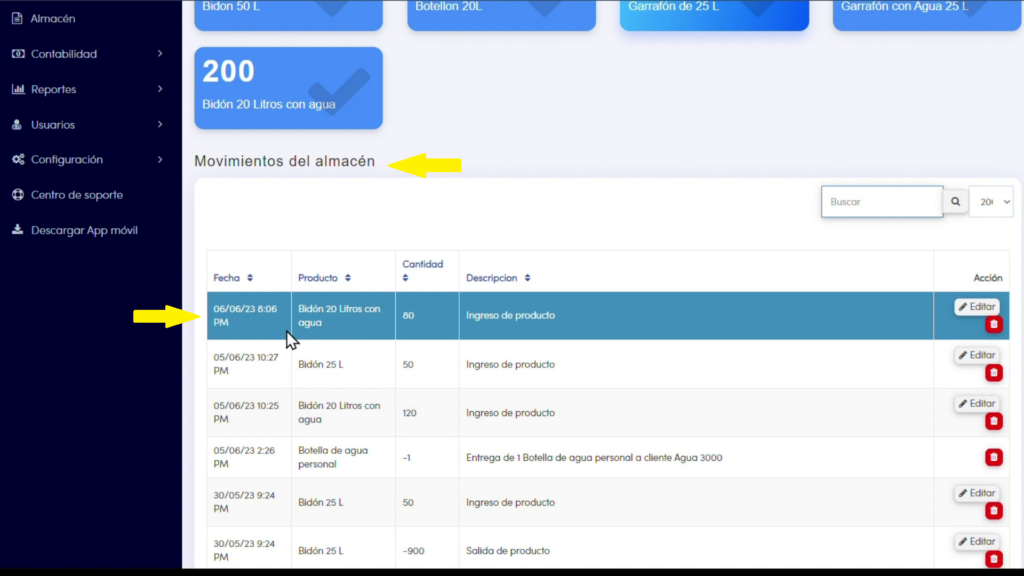
8. Now you can see the new products reflected in the warehouse list. Specifically, you will be able to find the product “20-liter bottle with water” with an entry of 80 units.