Here you will learn how to create new Clients within Yaku:
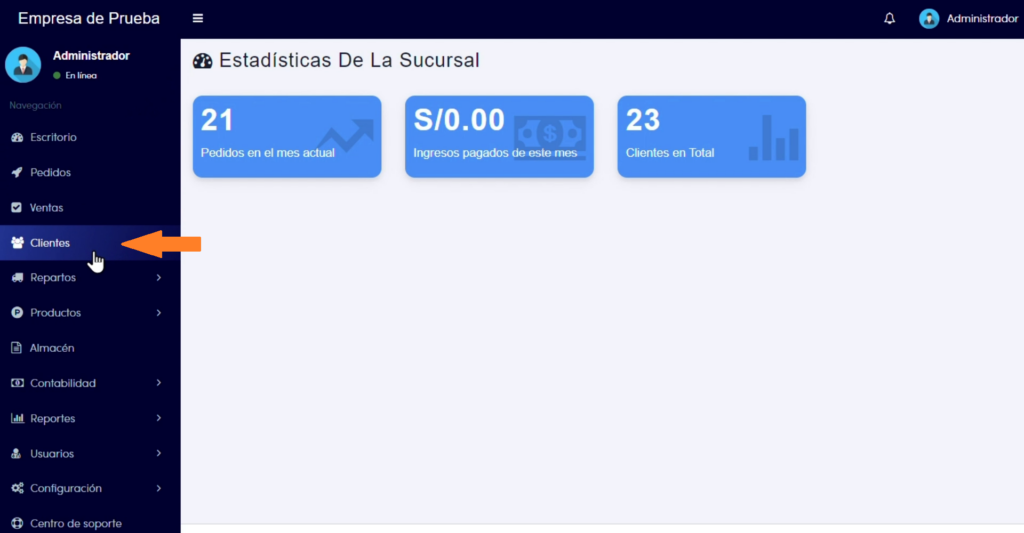
- Access the Clients module:
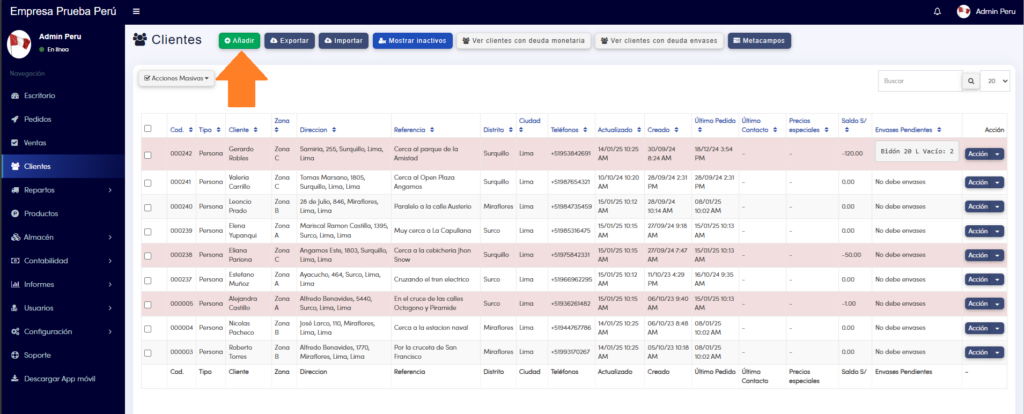
2. Look for the button that says “Add” and click on it:
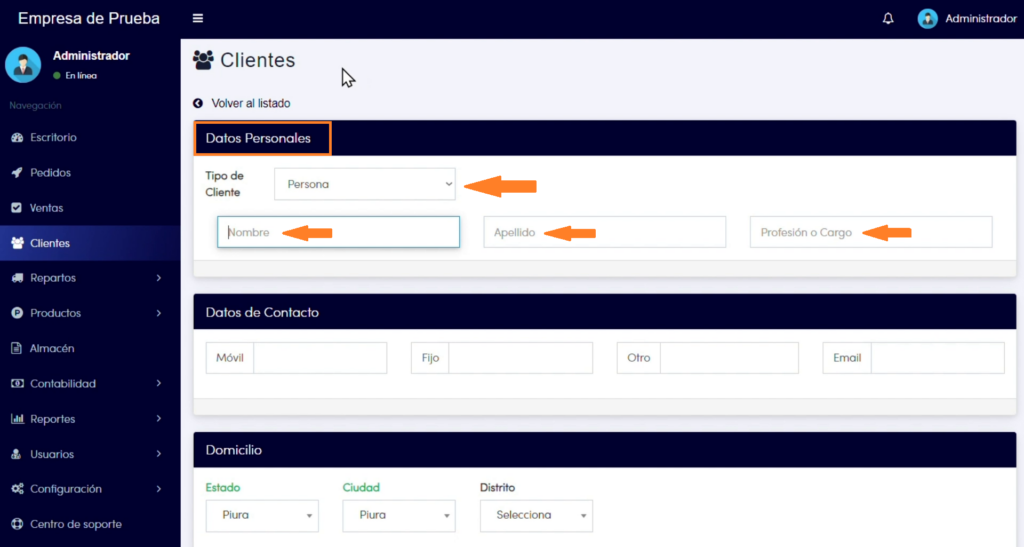
3. In the client module form, you will find an option to choose the client type. You can select between “Person” or “Company”, depending on the case:
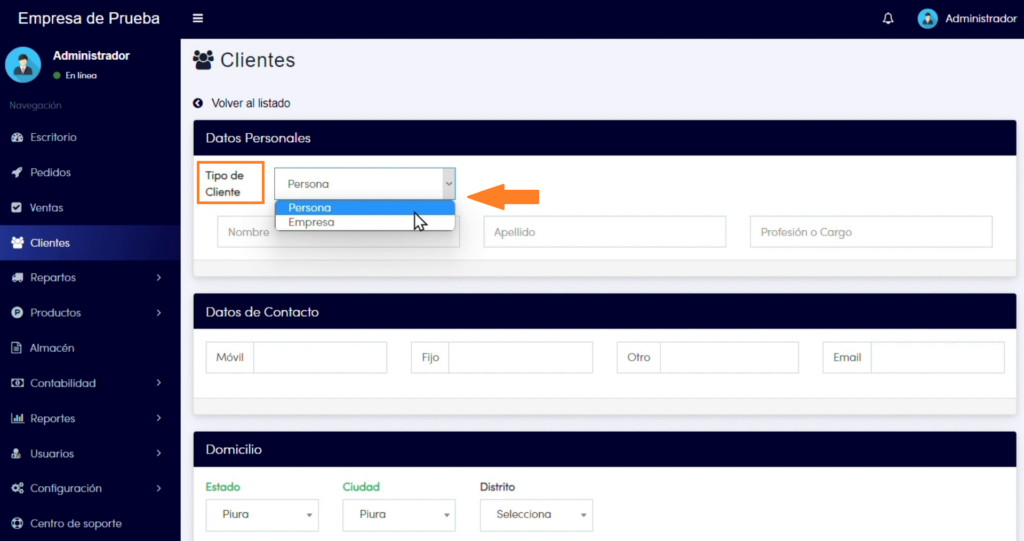
3.1. If you select “Person” as the client type, you will need to fill in the following sections of the form: Name, Surname, and Profession or Position:
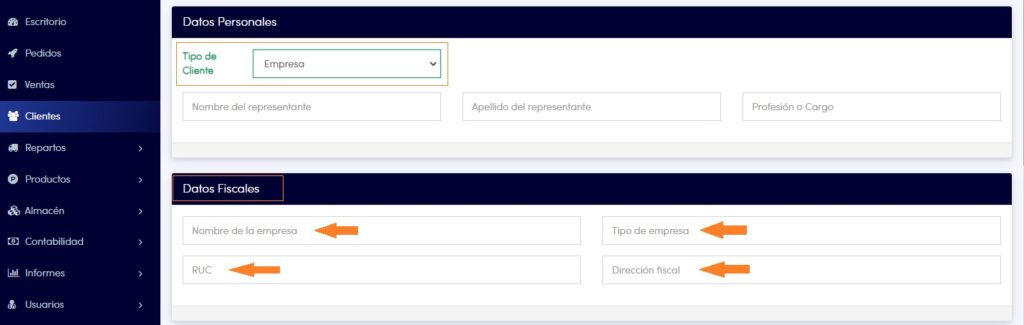
3.2. If you select “Company” as the client type, in addition to filling in the fields from the previous point, you will also need to complete the fields in the “Fiscal Data” section, which are: Company Name, Company Type, RUC (Tax ID), and Fiscal Address.
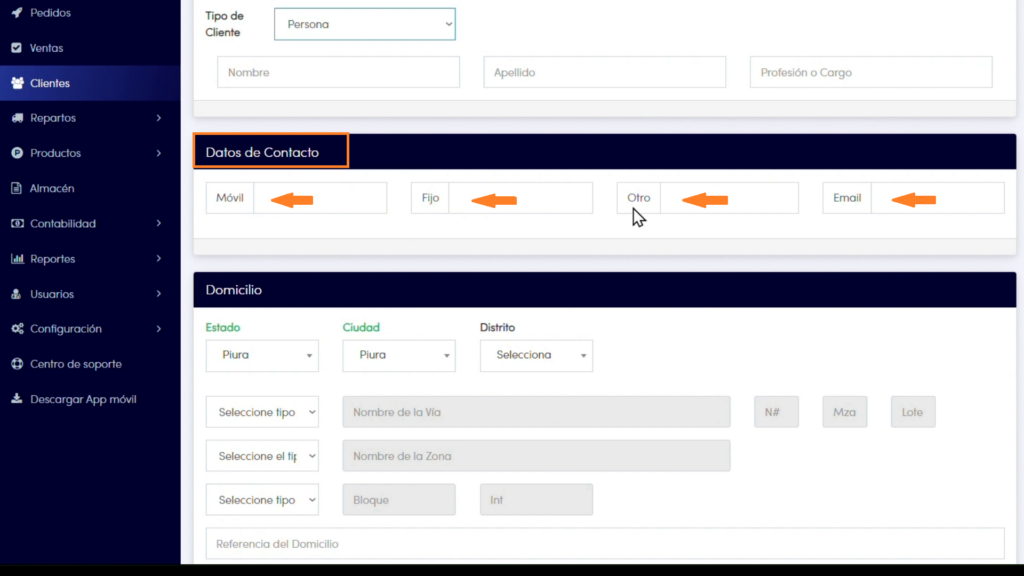
4. In the “Contact Details” section, enter the mobile or landline phone numbers and contact email:
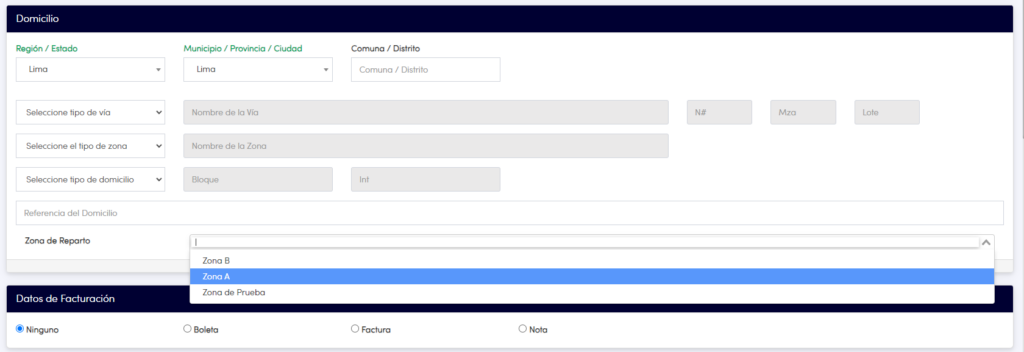
5. Select from the dropdown lists the Region/State, Municipality/Province/City, and Commune/District corresponding to the client’s location.
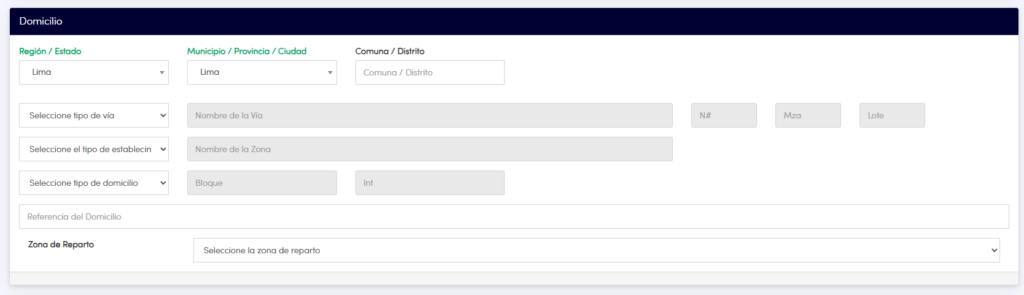
6. If you want to add it to a specific Zone. You should go to the “Distribution Zone” field and choose the Zone you want to associate with your Client:
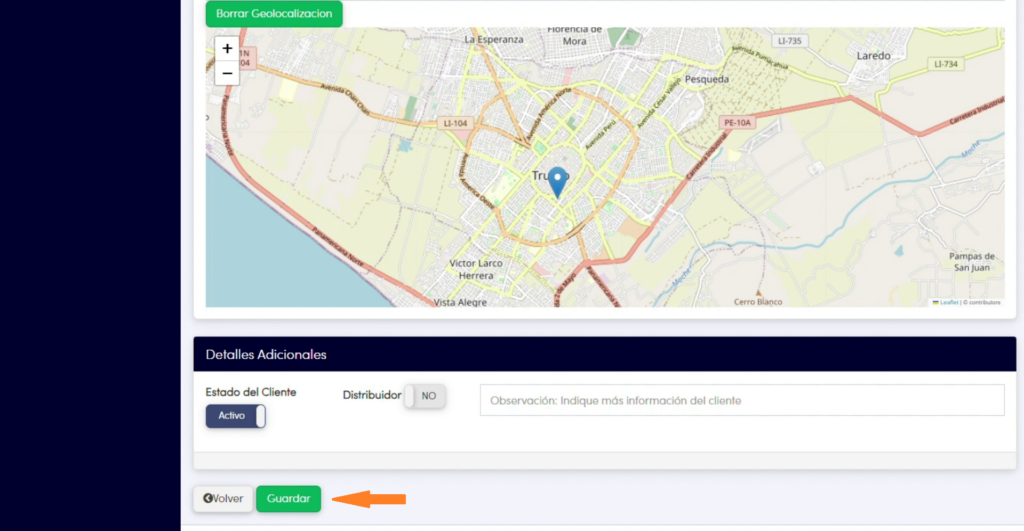
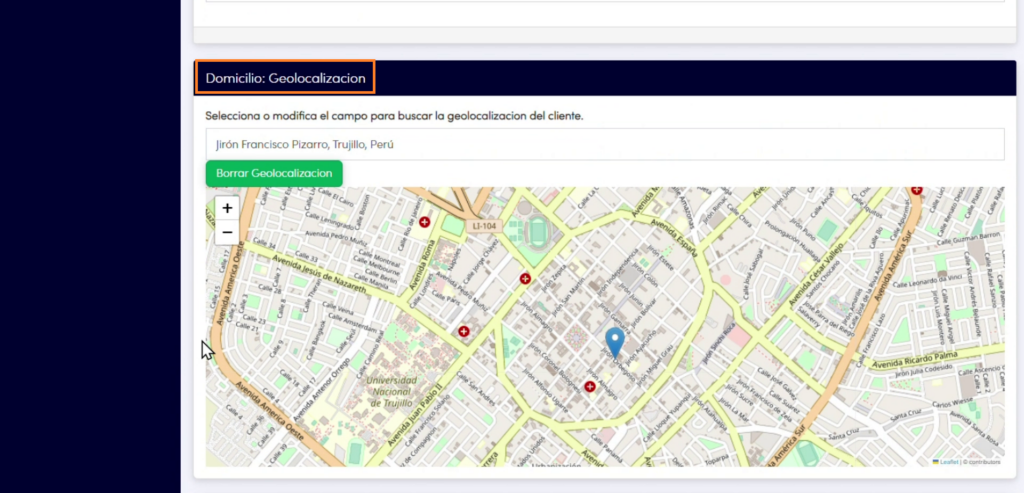
7. In the Geolocation section, the address you have entered will be automatically registered. You can rectify the address to ensure its exact location on the map using Google Maps. Move the marker on the map to ensure the exact GPS location of the client:
8. In the Additional Details section, you can select the client’s status (active or inactive) and check the “Distributor” box if applicable:

9. Once you have completed all the fields with the client’s information, look for the button that says “Save” or “Accept” and click on it to save the data: